18. STARTING SYSTEM STRYKER 125/150
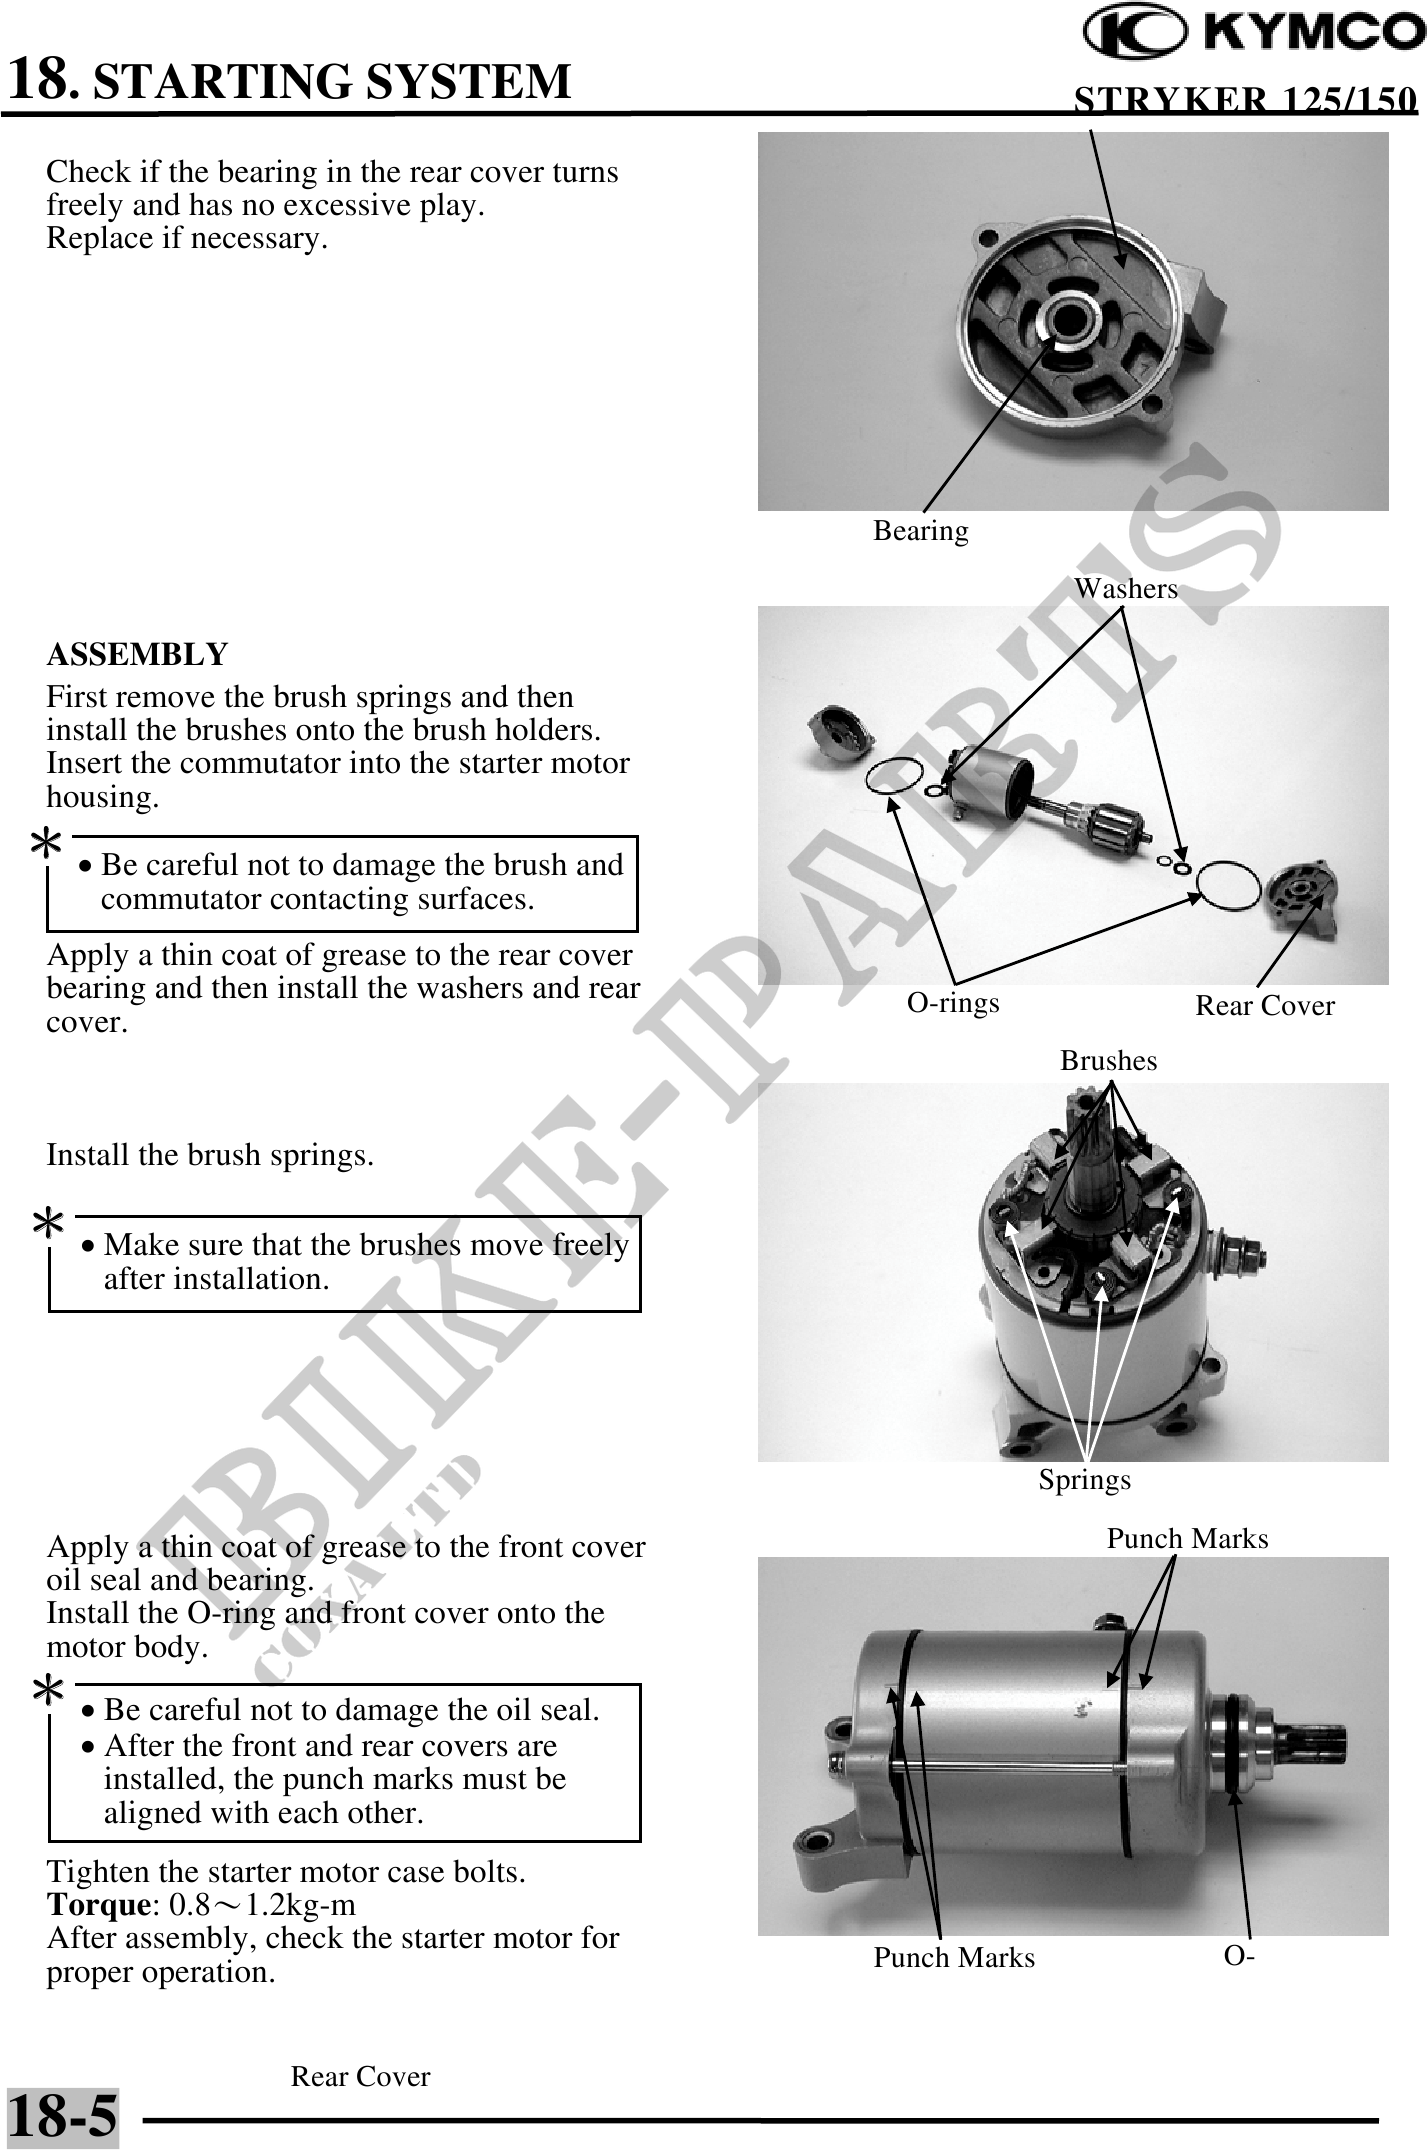
Check if the bearing in the rear cover turns
freely and has no excessive play.
Replace if necessary.
Bearing
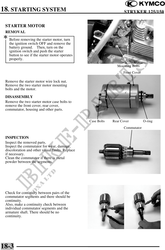
Washers
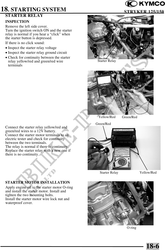
ASSEMBLY
First remove the brush springs and then
install the brushes onto the brush holders.
Insert the commutator into the starter motor
housing.
· Be careful not to damage the brush and
commutator contacting surfaces.
Apply a thin coat of grease to the rear cover
bearing and then install the washers and rear O-rings Rear Cover
cover.
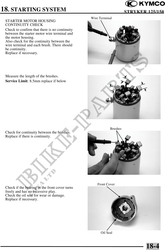
Brushes
Install the brush springs.
· Make sure that the brushes move freely
after installation.
Springs
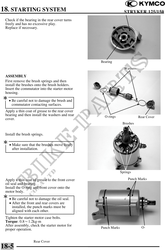
Apply a thin coat of grease to the front cover Punch Marks
oil seal and bearing.
Install the O-ring and front cover onto the
motor body.
· Be careful not to damage the oil seal.
· After the front and rear covers are
installed, the punch marks must be
aligned with each other.
Tighten the starter motor case bolts.
Torque: 0.81.2kg-m
After assembly, check the starter motor for O-
proper operation. Punch Marks
Rear Cover
18-5