Choose your country
We work in partnership with many official Kymco dealers around the world.
You can select the country of your choice from the list below, whatever your choice, we can deliver worldwide!

          8. CYLINDER/PISTON                                       MXU 300/250


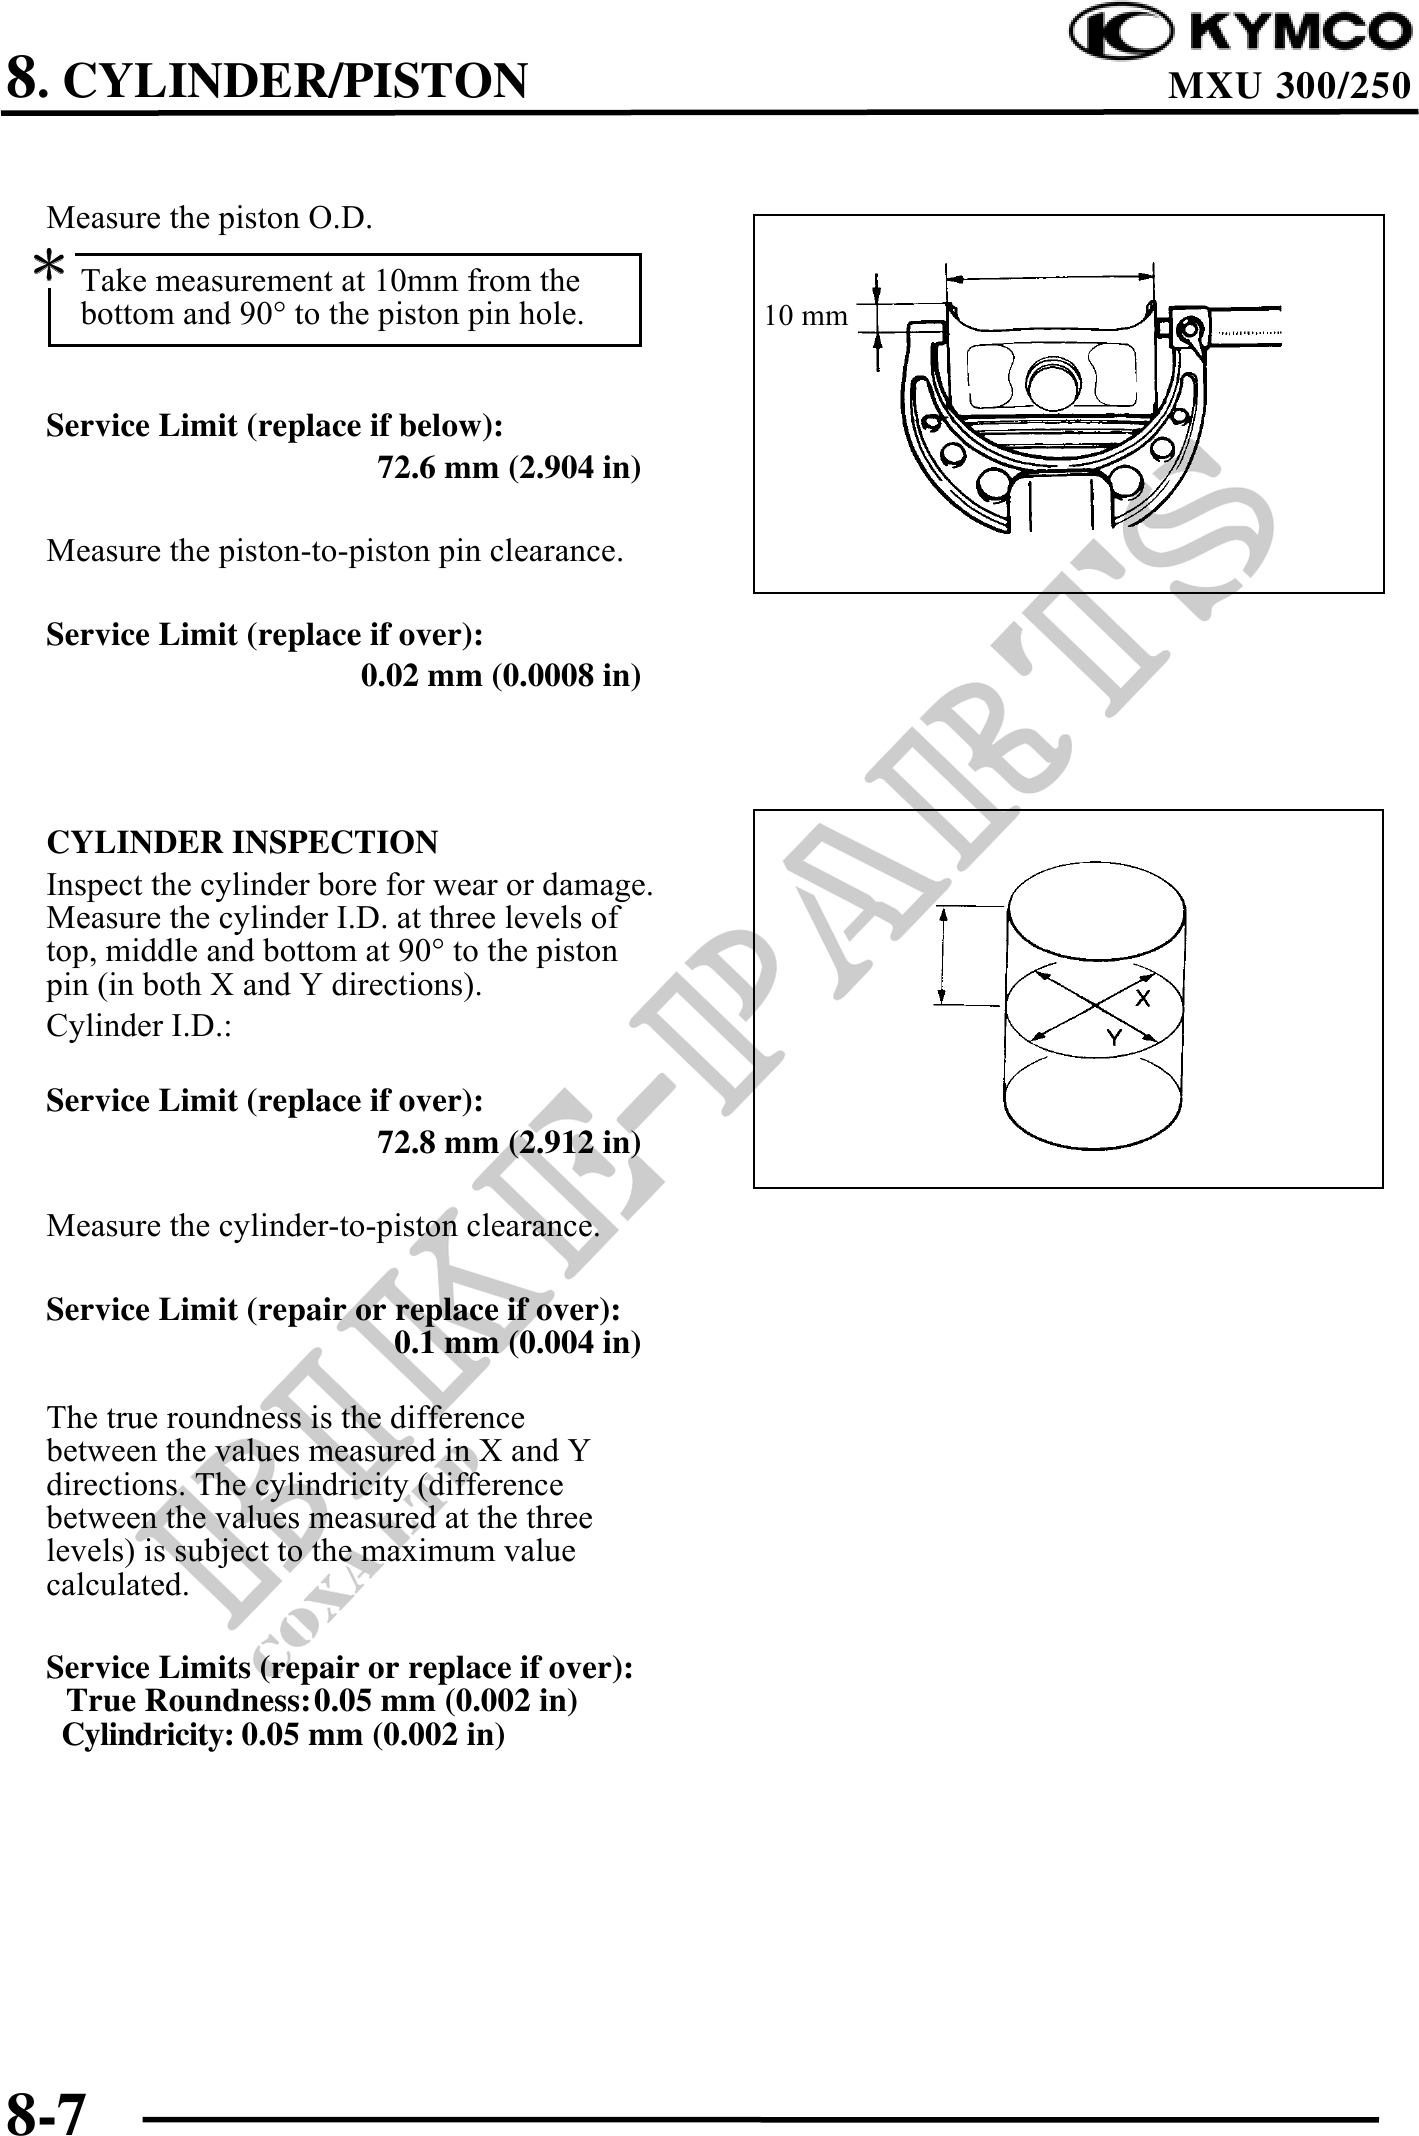
 Measure the piston O.D.
 Take measurement at 10mm from the
   bottom and 90° to the piston pin hole.        10 mm


 Service Limit (replace if below):
                         72.6 mm (2.904 in)

 Measure the piston-to-piston pin clearance.

 Service Limit (replace if over):
                       0.02 mm (0.0008 in)


 CYLINDER INSPECTION
 Inspect the cylinder bore for wear or damage.
 Measure the cylinder I.D. at three levels of
 top, middle and bottom at 90° to the piston
 pin (in both X and Y directions).
 Cylinder I.D.:

 Service Limit (replace if over):
                         72.8 mm (2.912 in)

 Measure the cylinder-to-piston clearance.

 Service Limit (repair or replace if over):
                          0.1 mm (0.004 in)

 The true roundness is the difference
 between the values measured in X and Y
 directions. The cylindricity (difference
 between the values measured at the three
 levels) is subject to the maximum value
 calculated.

 Service Limits (repair or replace if over):
  True Roundness:0.05 mm (0.002 in)
  Cylindricity: 0.05 mm (0.002 in)


8-7