Choose your country
We work in partnership with many official Kymco dealers around the world.
You can select the country of your choice from the list below, whatever your choice, we can deliver worldwide!
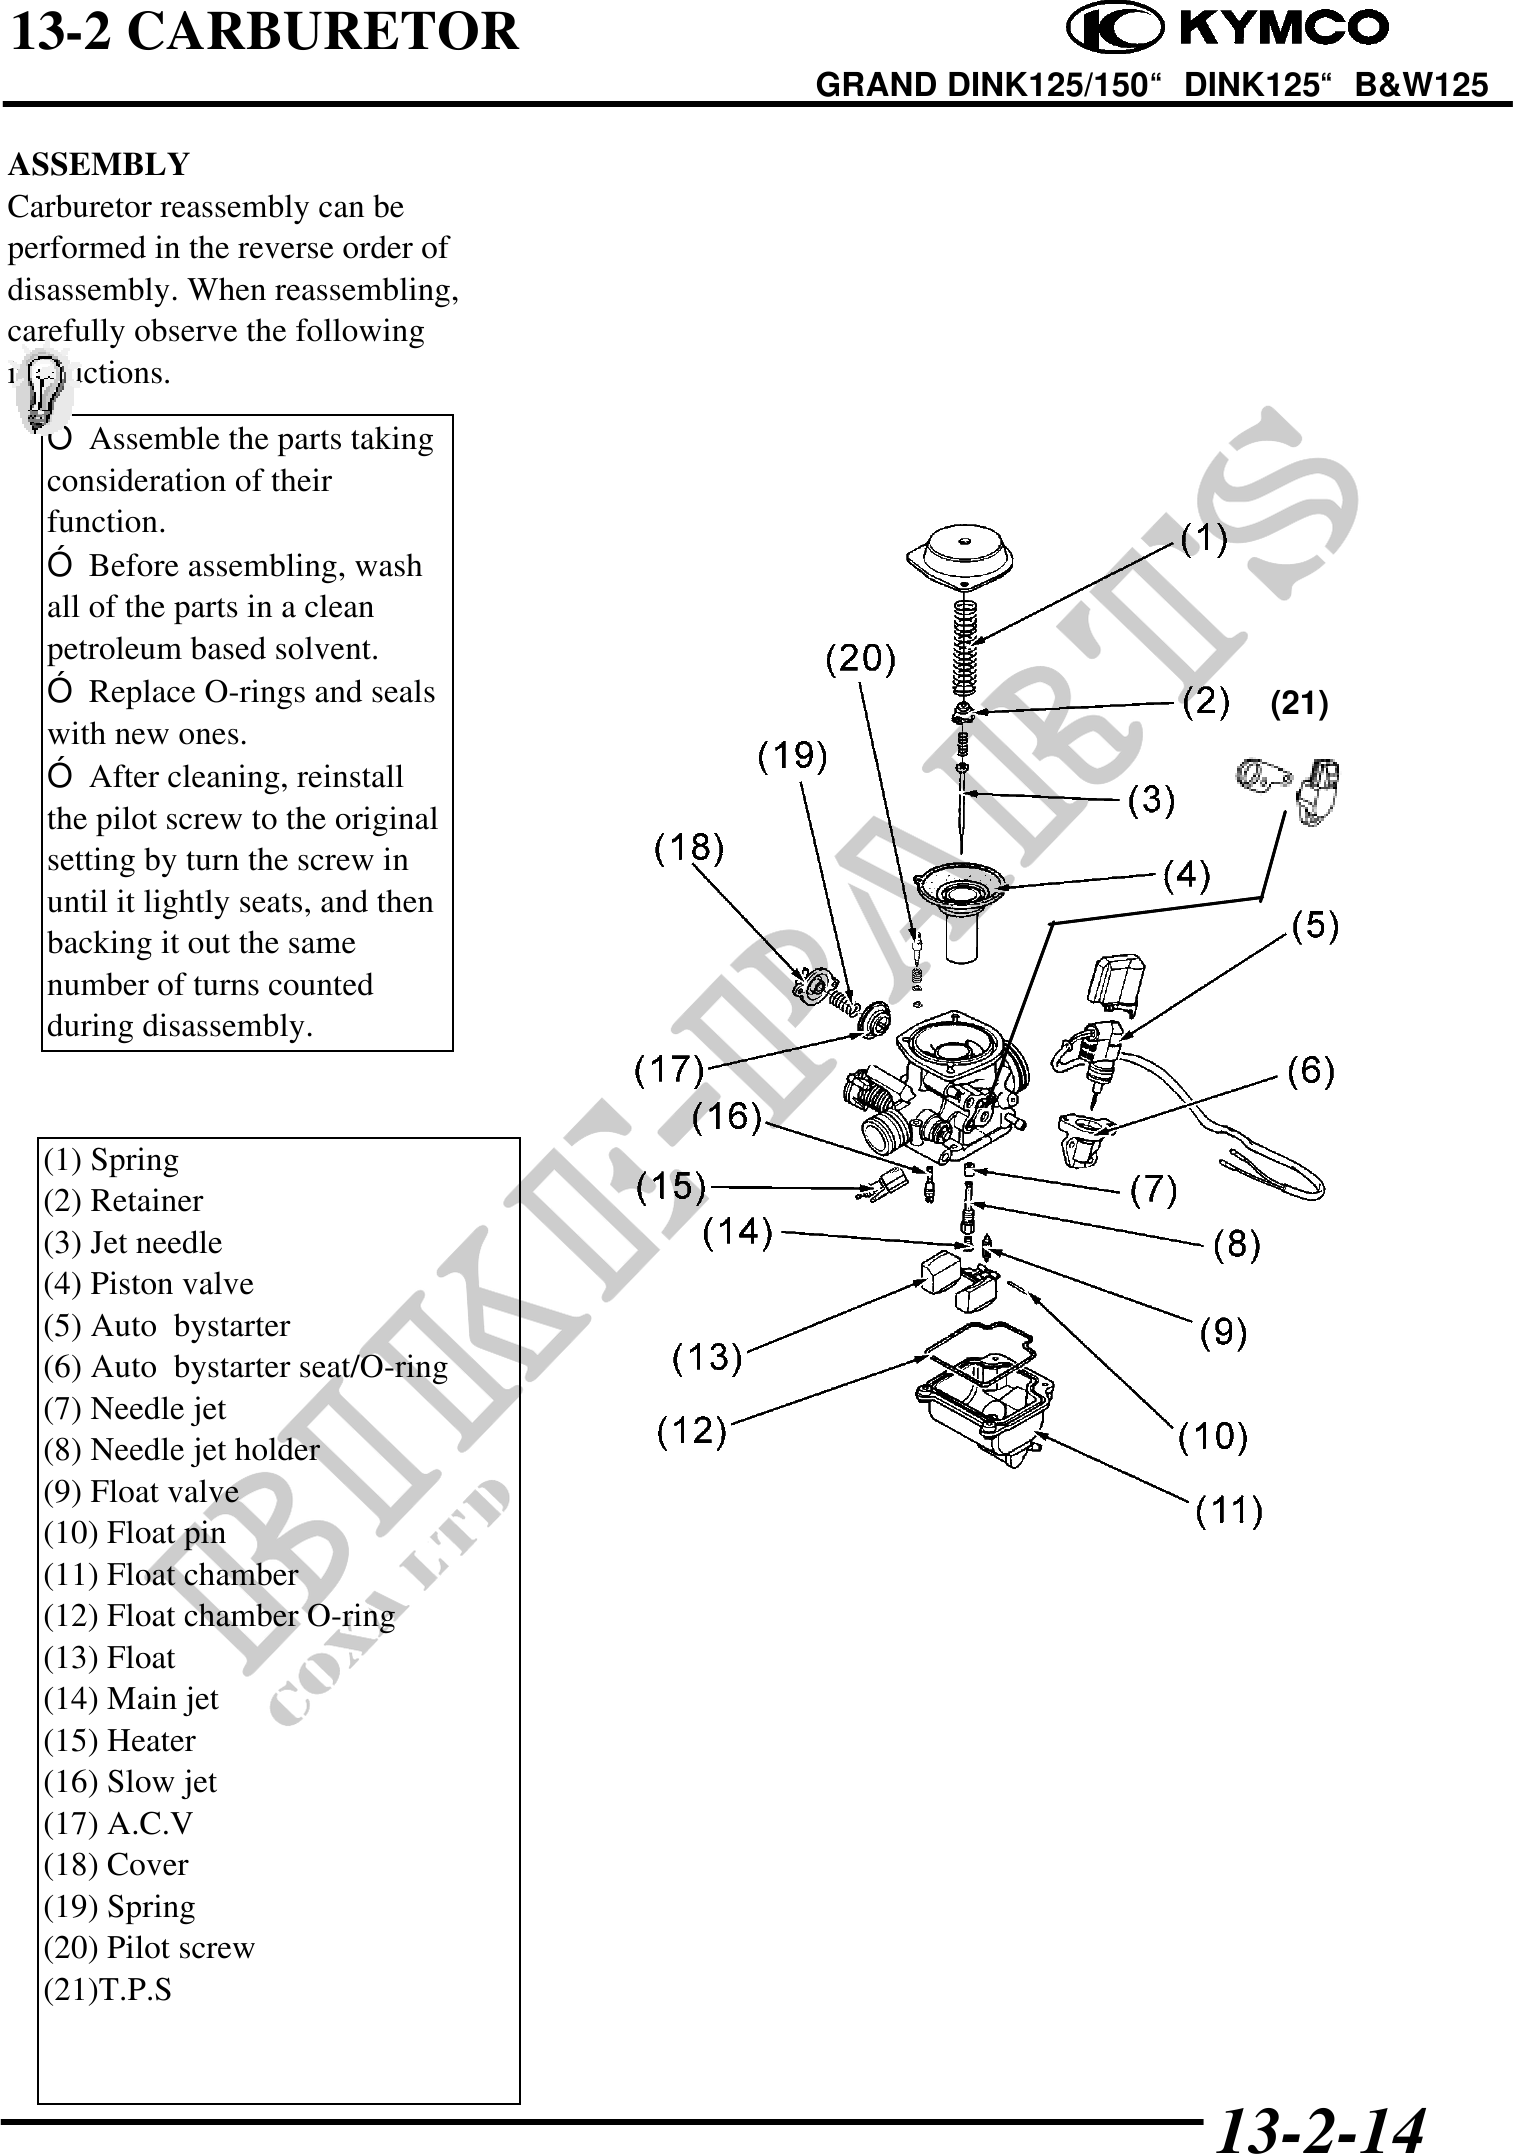
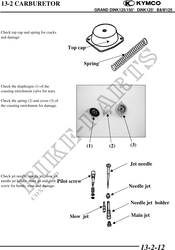
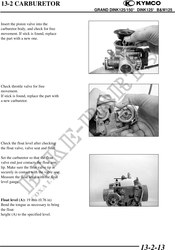
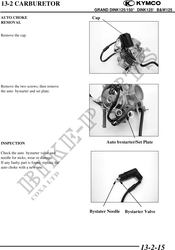
13-2 CARBURETOR
GRAND DINK125/150DINK125B&W125
ASSEMBLY
Carburetor reassembly can be
performed in the reverse order of
disassembly. When reassembling,
carefully observe the following
instructions.
Assemble the parts taking
consideration of their
function.
Before assembling, wash
all of the parts in a clean
petroleum based solvent.
Replace O-rings and seals (21)
with new ones.
After cleaning, reinstall
the pilot screw to the original
setting by turn the screw in
until it lightly seats, and then
backing it out the same
number of turns counted
during disassembly.
(1) Spring
(2) Retainer
(3) Jet needle
(4) Piston valve
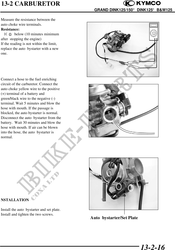
(5) Auto bystarter
(6) Auto bystarter seat/O-ring
(7) Needle jet
(8) Needle jet holder
(9) Float valve
(10) Float pin
(11) Float chamber
(12) Float chamber O-ring
(13) Float
(14) Main jet
(15) Heater
(16) Slow jet
(17) A.C.V
(18) Cover
(19) Spring
(20) Pilot screw
(21)T.P.S
13-2-14