Spark Plug Muffler/Spark Arrester
A light brown insulator indicates that a plug is correct. At the intervals shown in the Periodic Maintenance
A white or dark insulator indicates that the engine may Chart, clean the spark arrester using the following pro-
need to be serviced or the carburetor may need to be cedure.
adjusted. To maintain a hot, strong spark, keep the
plug free of carbon. ! WARNING
Wait until the muffler cools to avoid burns.
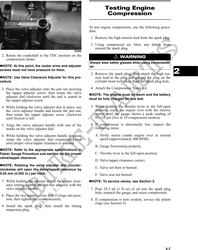
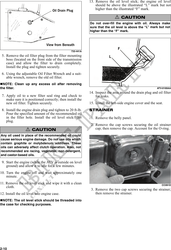
1. Remove the cap screws securing the spark arrester
assembly to the muffler; then loosen and remove
the arrester.
ATV-0051
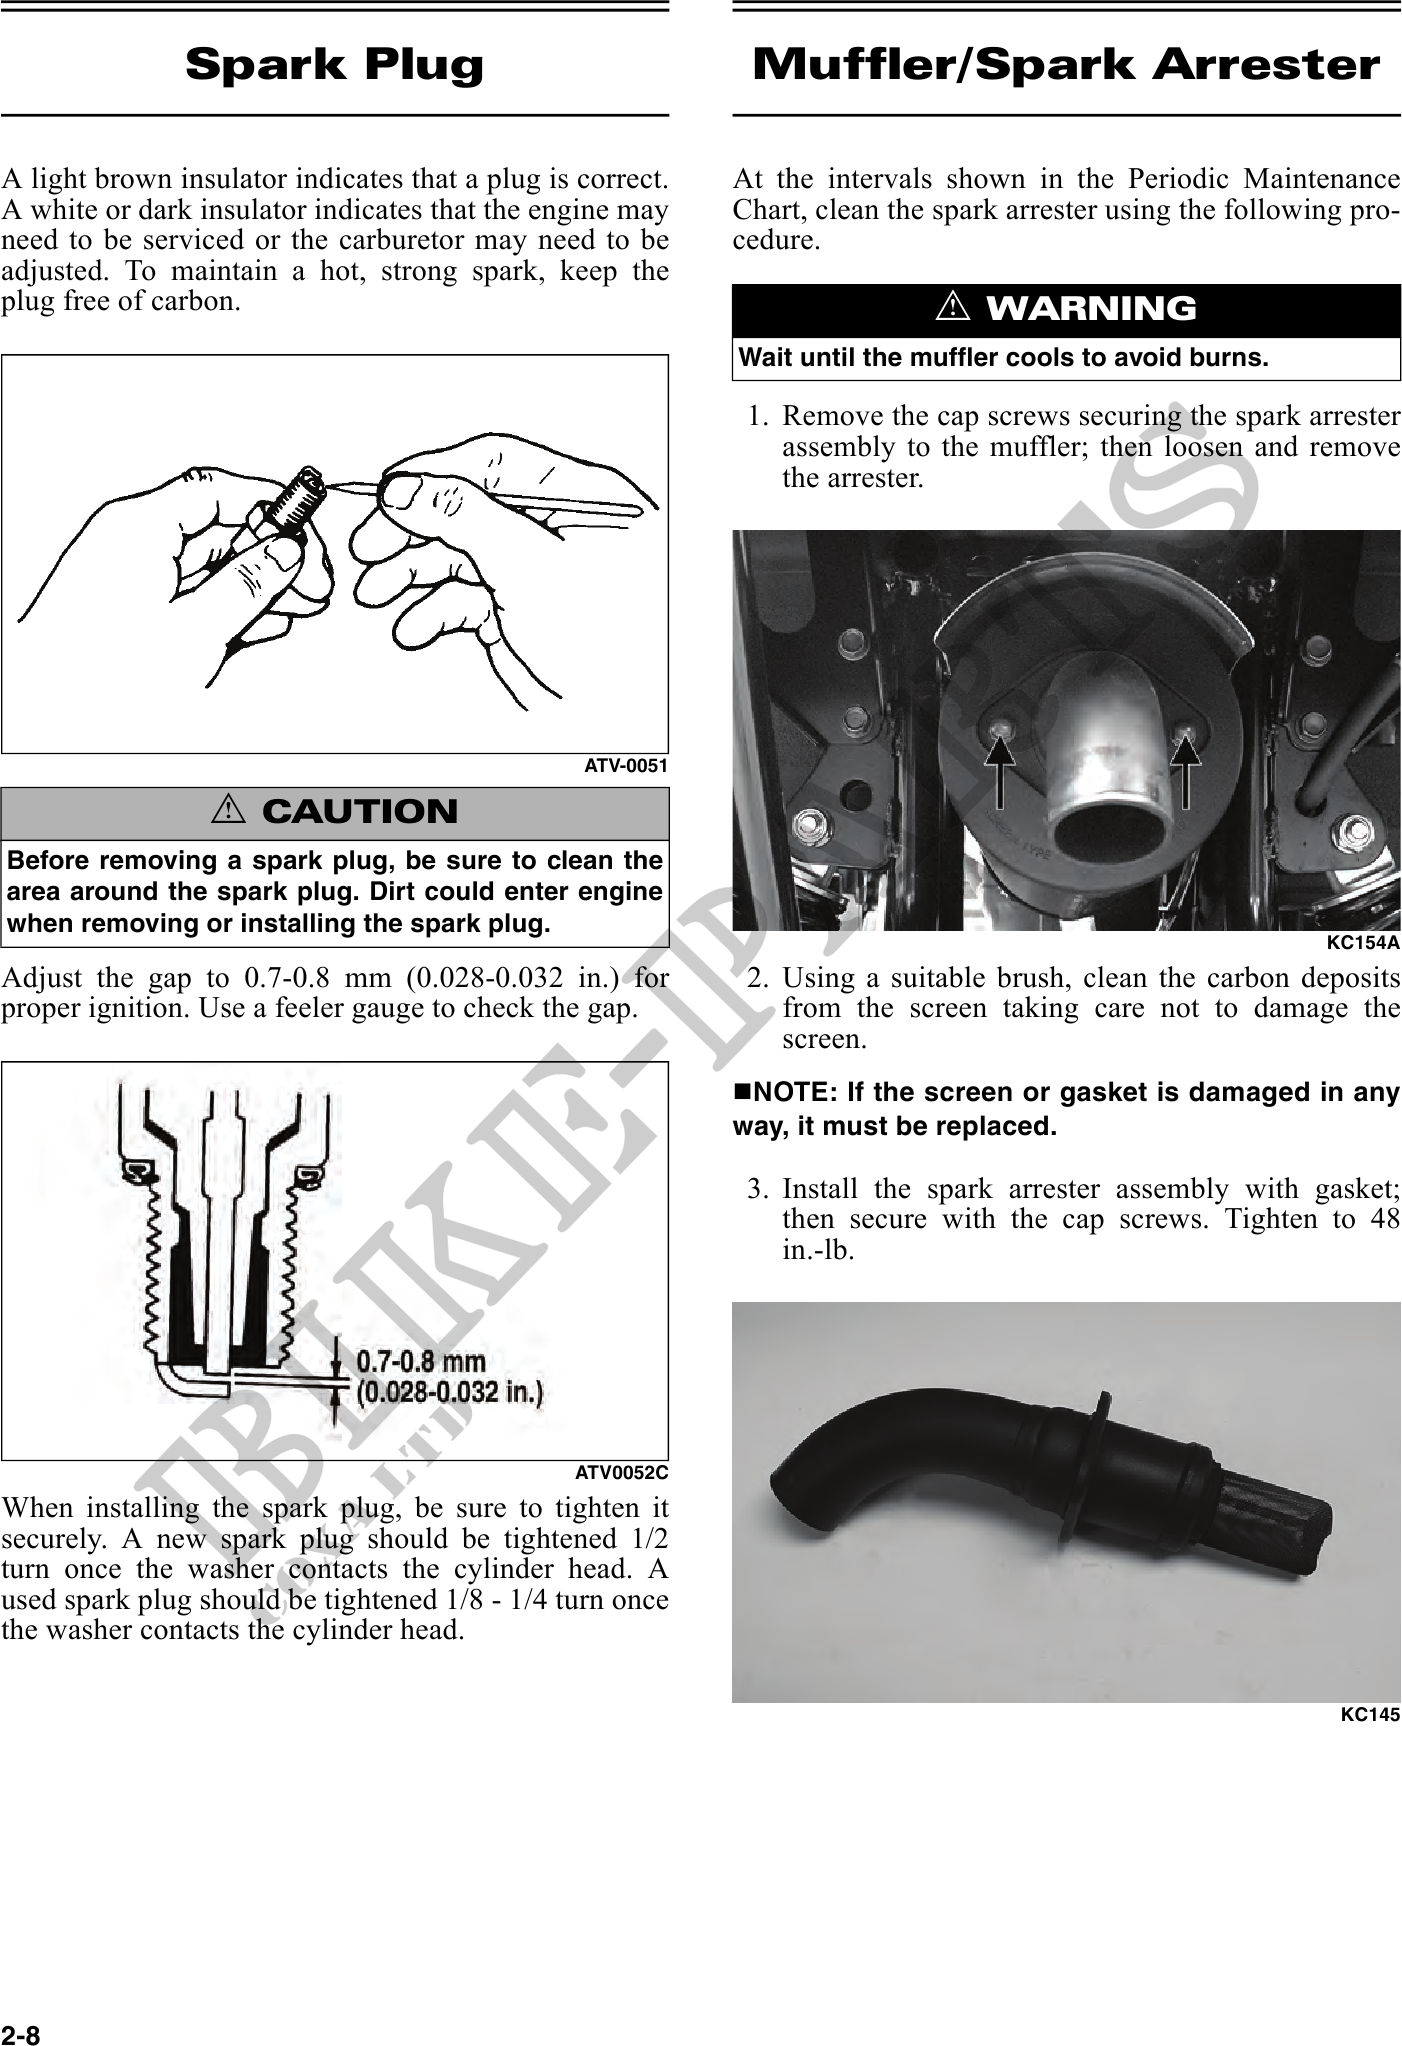
! CAUTION
Before removing a spark plug, be sure to clean the
area around the spark plug. Dirt could enter engine
when removing or installing the spark plug.
KC154A
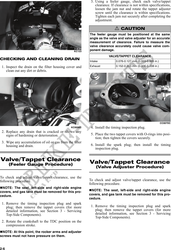
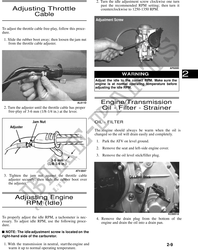
Adjust the gap to 0.7-0.8 mm (0.028-0.032 in.) for 2. Using a suitable brush, clean the carbon deposits
proper ignition. Use a feeler gauge to check the gap. from the screen taking care not to damage the
screen.
NOTE: If the screen or gasket is damaged in any
way, it must be replaced.
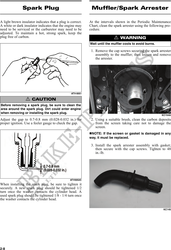
3. Install the spark arrester assembly with gasket;
then secure with the cap screws. Tighten to 48
in.-lb.
ATV0052C
When installing the spark plug, be sure to tighten it
securely. A new spark plug should be tightened 1/2
turn once the washer contacts the cylinder head. A
used spark plug should be tightened 1/8 - 1/4 turn once
the washer contacts the cylinder head.
KC145
2-8