Choose your country
We work in partnership with many official Kymco dealers around the world.
You can select the country of your choice from the list below, whatever your choice, we can deliver worldwide!
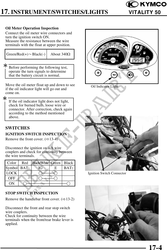
17. INSTRUMENT/SWITCHES/LIGHTS VITALITY 50
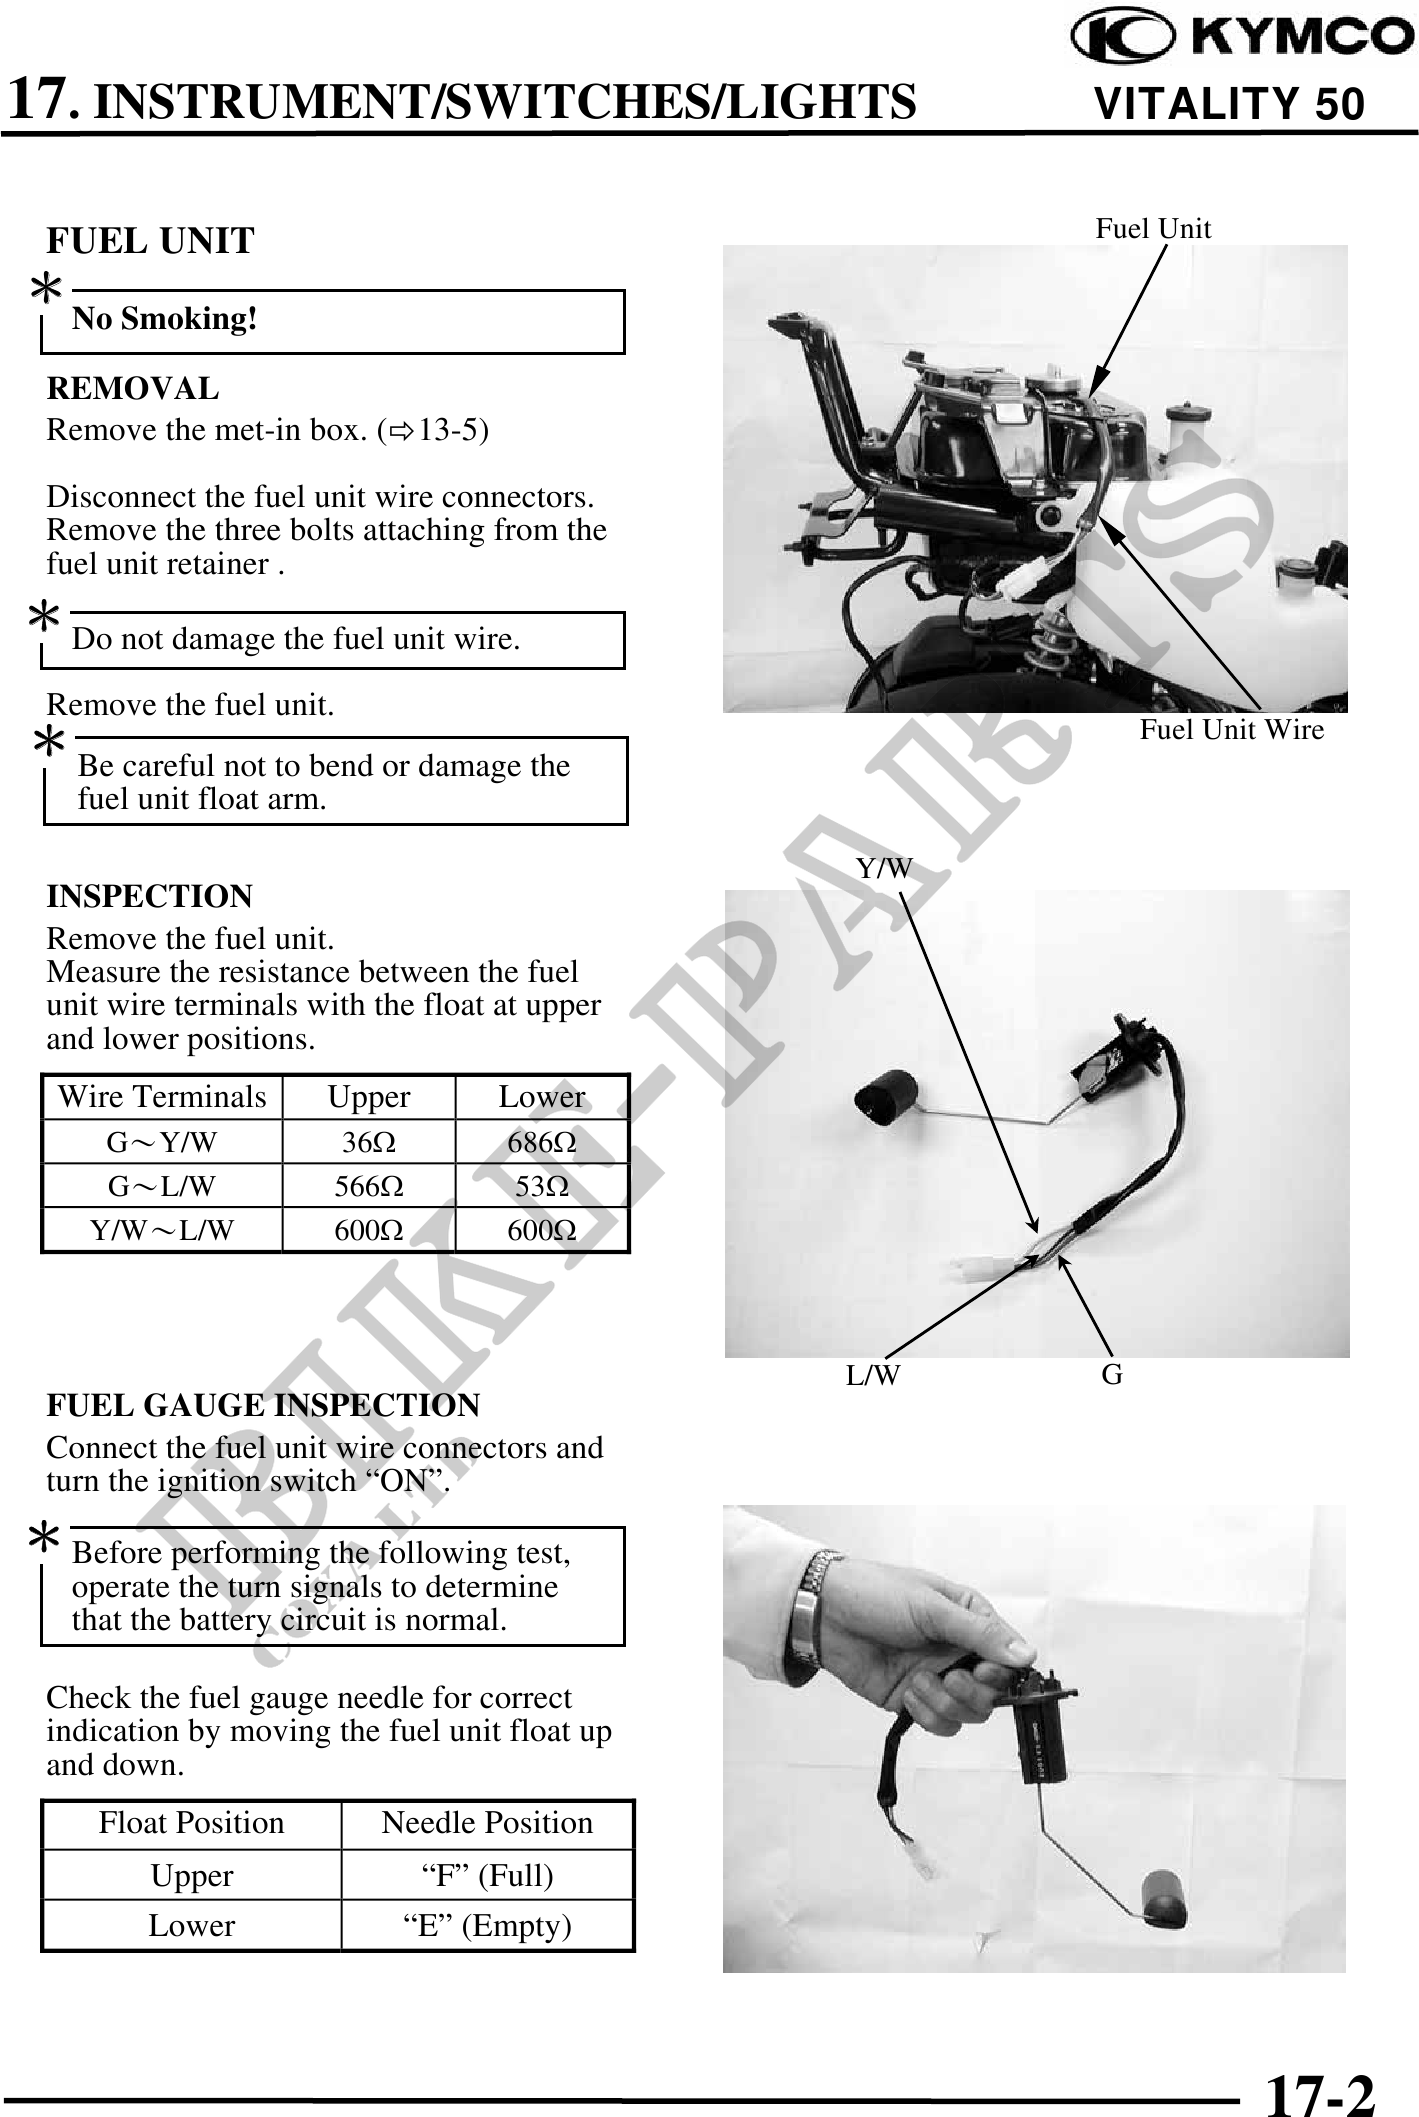
Fuel Unit
FUEL UNIT
No Smoking!
REMOVAL
Remove the met-in box. ( 13-5)
Disconnect the fuel unit wire connectors.
Remove the three bolts attaching from the
fuel unit retainer .
Do not damage the fuel unit wire.
Remove the fuel unit.
Be careful not to bend or damage the Fuel Unit Wire
fuel unit float arm.
Y/W
INSPECTION
Remove the fuel unit.
Measure the resistance between the fuel
unit wire terminals with the float at upper
and lower positions.
Wire Terminals Upper Lower
GY/W 36 686
GL/W 566 53
Y/WL/W 600 600
L/W G
FUEL GAUGE INSPECTION
Connect the fuel unit wire connectors and
turn the ignition switch "ON".
Before performing the following test,
operate the turn signals to determine
that the battery circuit is normal.
Check the fuel gauge needle for correct
indication by moving the fuel unit float up
and down.
Float Position Needle Position
Upper "F" (Full)
Lower "E" (Empty)
17-2