Choose your country
We work in partnership with many official Kymco dealers around the world.
You can select the country of your choice from the list below, whatever your choice, we can deliver worldwide!
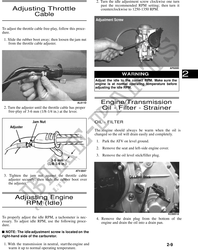
CC163D KC0077A
AT THIS POINT 3. Drain the oil into a drain pan by removing the
drain plug from each.
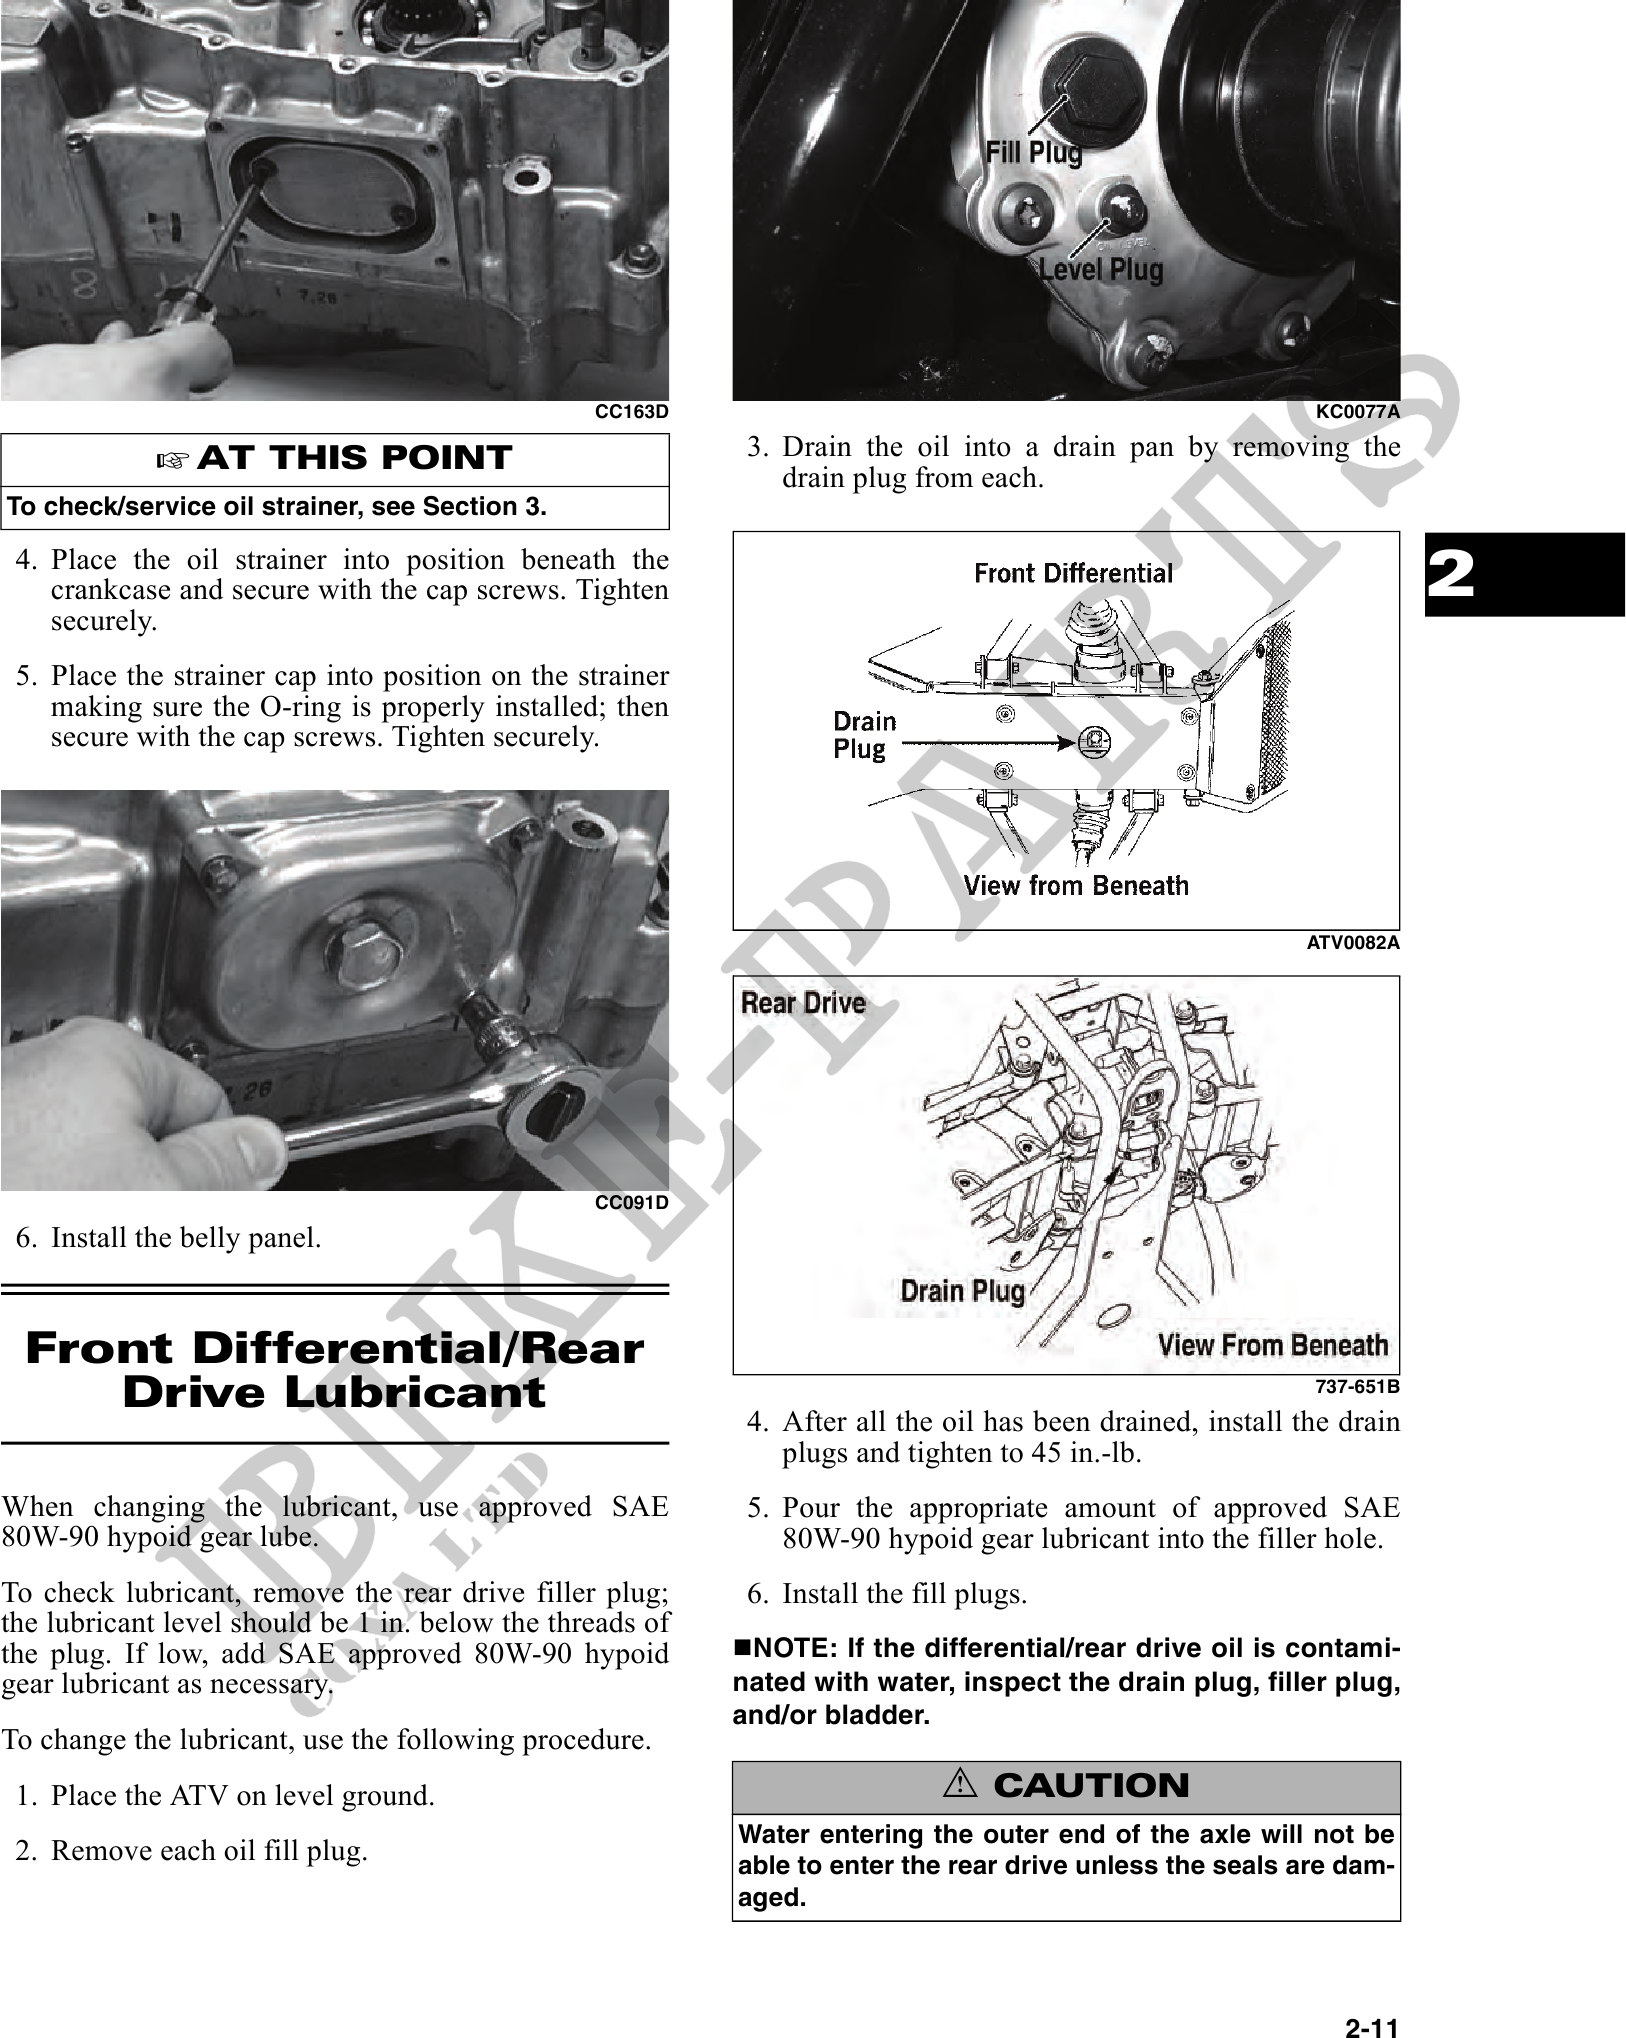
To check/service oil strainer, see Section 3.
4. Place the oil strainer into position beneath the
crankcase and secure with the cap screws. Tighten 2
securely.
5. Place the strainer cap into position on the strainer
making sure the O-ring is properly installed; then
secure with the cap screws. Tighten securely.
ATV0082A
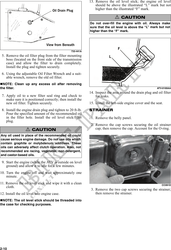
CC091D
6. Install the belly panel.
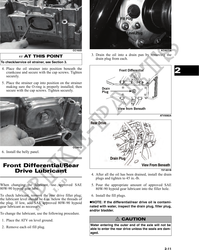
Front Differential/Rear
Drive Lubricant 737-651B
4. After all the oil has been drained, install the drain
plugs and tighten to 45 in.-lb.
When changing the lubricant, use approved SAE 5. Pour the appropriate amount of approved SAE
80W-90 hypoid gear lube. 80W-90 hypoid gear lubricant into the filler hole.
To check lubricant, remove the rear drive filler plug; 6. Install the fill plugs.
the lubricant level should be 1 in. below the threads of
the plug. If low, add SAE approved 80W-90 hypoid NOTE: If the differential/rear drive oil is contami-
gear lubricant as necessary. nated with water, inspect the drain plug, filler plug,
and/or bladder.
To change the lubricant, use the following procedure.
1. Place the ATV on level ground. ! CAUTION
Water entering the outer end of the axle will not be
2. Remove each oil fill plug. able to enter the rear drive unless the seals are dam-
aged.
2-11