4. FUEL SYSTEM QUANNON 125
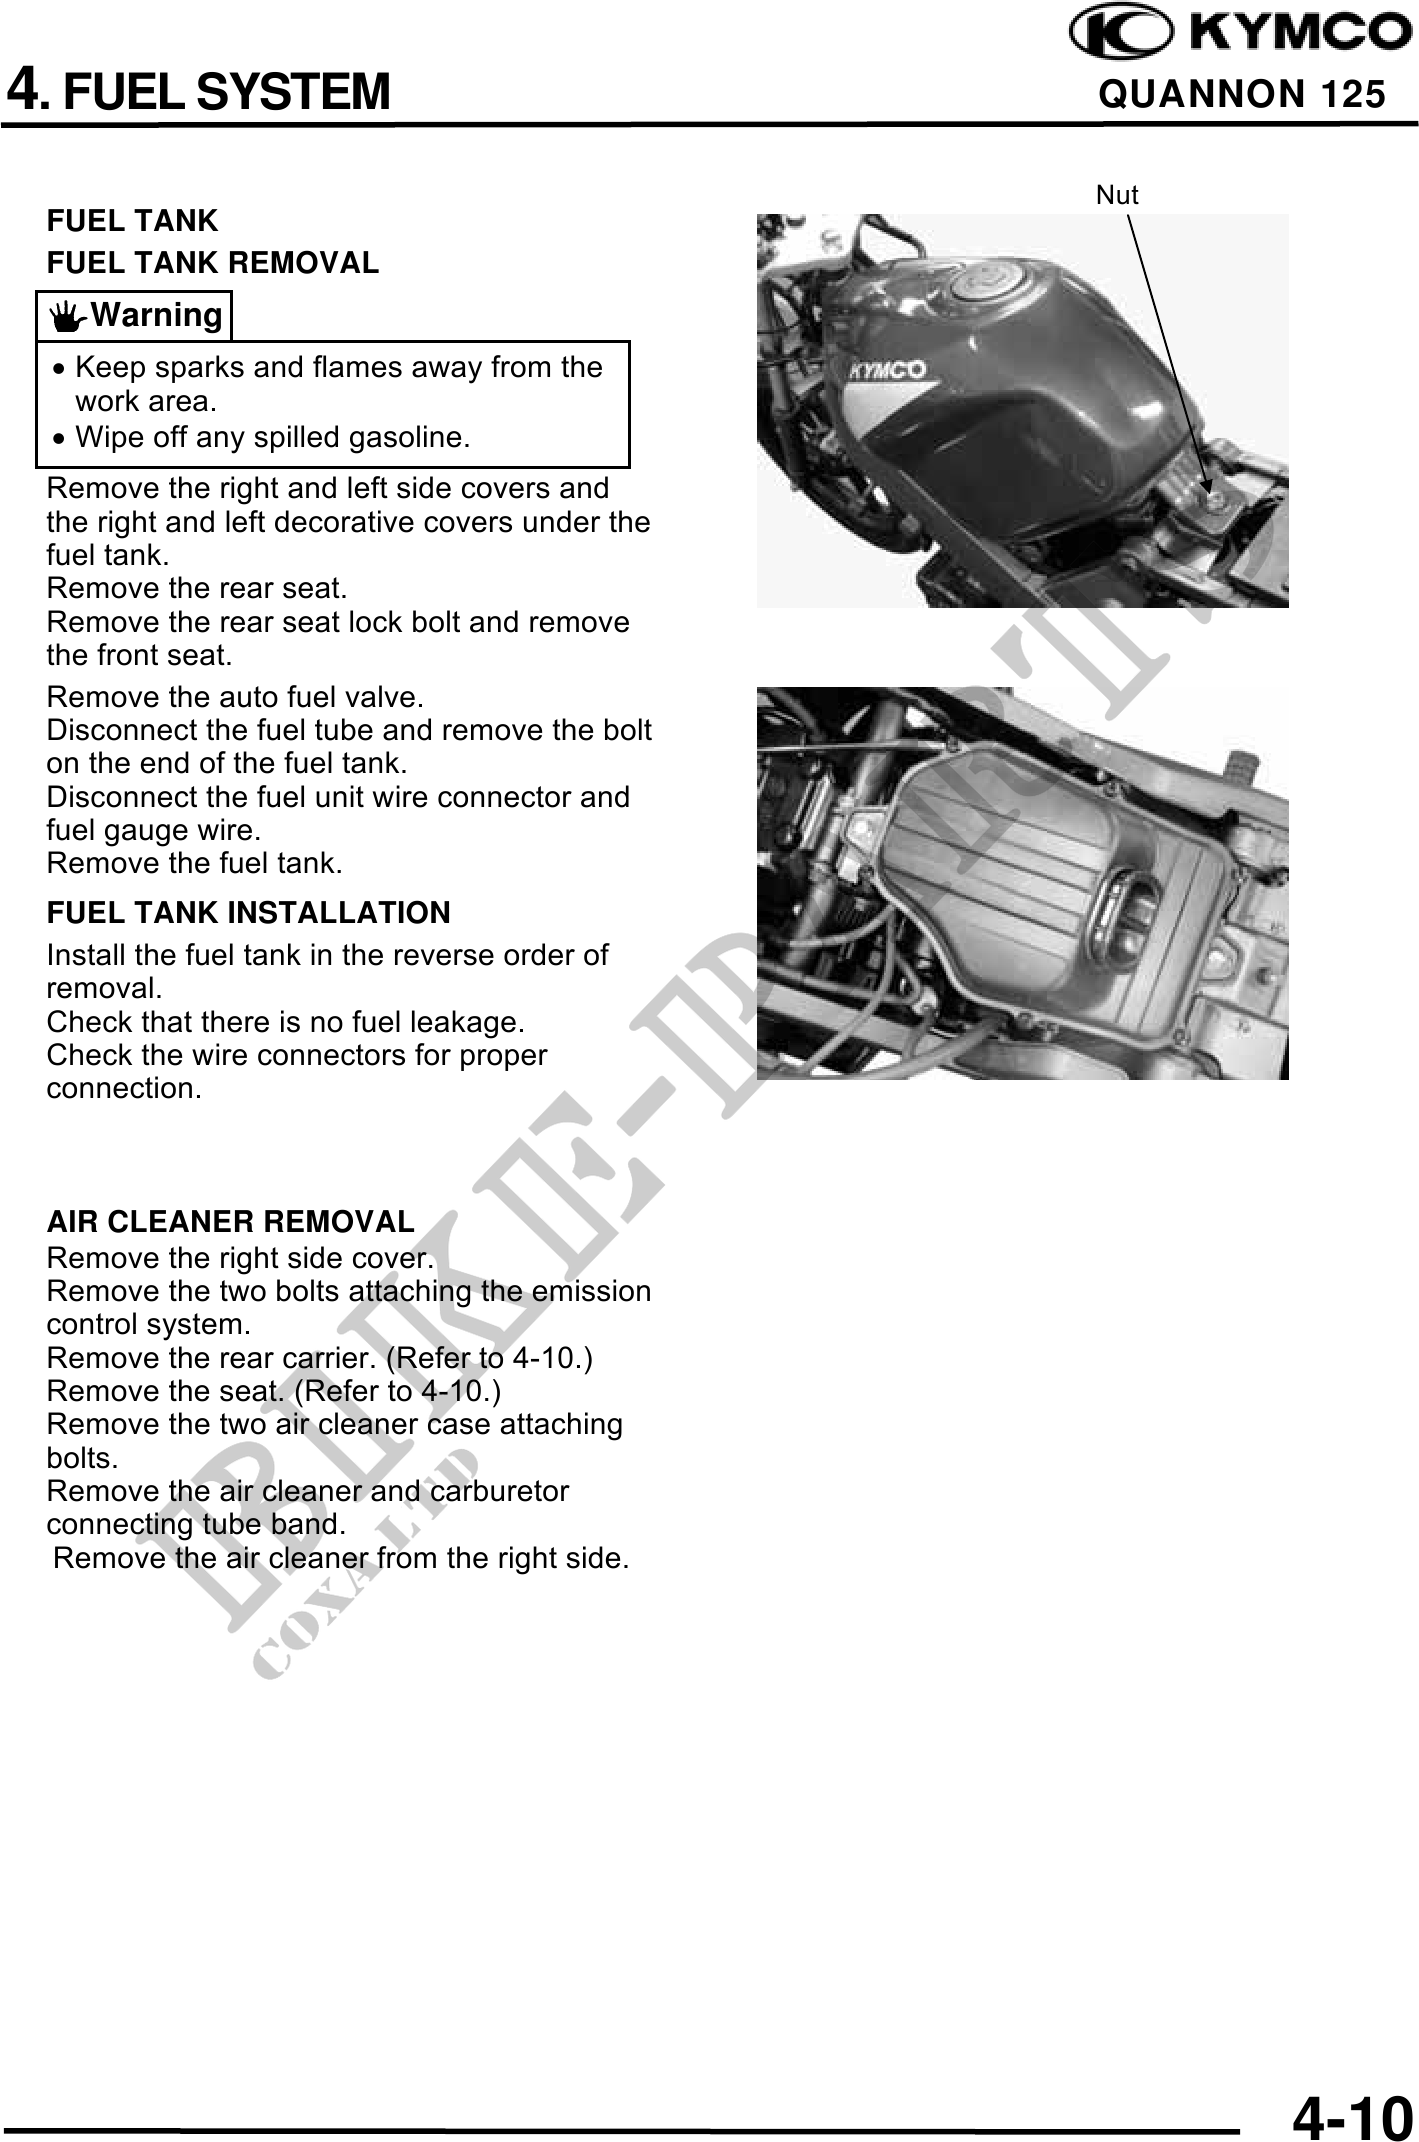
Nut
FUEL TANK
FUEL TANK REMOVAL
Warning
· Keep sparks and flames away from the
work area.
· Wipe off any spilled gasoline.
Remove the right and left side covers and
the right and left decorative covers under the
fuel tank.
Remove the rear seat.
Remove the rear seat lock bolt and remove
the front seat.
Remove the auto fuel valve.
Disconnect the fuel tube and remove the bolt
on the end of the fuel tank.
Disconnect the fuel unit wire connector and
fuel gauge wire.
Remove the fuel tank.
FUEL TANK INSTALLATION
Install the fuel tank in the reverse order of
removal.
Check that there is no fuel leakage.
Check the wire connectors for proper
connection.
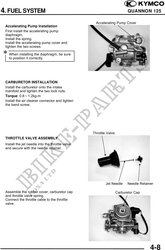
AIR CLEANER REMOVAL
Remove the right side cover.
Remove the two bolts attaching the emission
control system.
Remove the rear carrier. (Refer to 4-10.)
Remove the seat. (Refer to 4-10.)
Remove the two air cleaner case attaching
bolts.
Remove the air cleaner and carburetor
connecting tube band.
Remove the air cleaner from the right side.
4-10