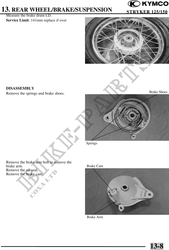
13. REAR WHEEL/BRAKE/SUSPENSION STRYKER 125/150
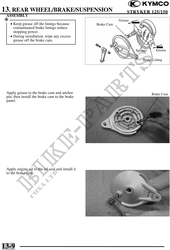
Install the brake arm onto the brake cam,
aligning the punch mark on the cam with
the scribed line on the arm.
Install and tighten the brake arm bolt.
Torque: 0.81.2kg-m
INSTALLATION
Install the brake panel and rear wheel in the
reverse order of removal.
After the rear wheel installation, check
the drive chain slack and rear brake
pedal free play.
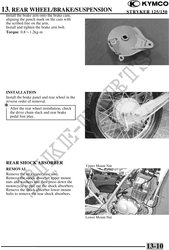
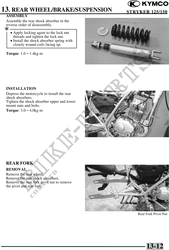
REAR SHOCK ABSORBER
Upper Mount Nut
REMOVAL
Remove the air cleaner case assy.
Remove the shock absorber upper mount
nuts and washers and then press down the
motorcycle to pull out the shock absorbers.
Remove the shock absorber lower mount
bolts to remove the rear shock absorbers.
Lower Mount Nut
13-10