Choose your country
We work in partnership with many official Kymco dealers around the world.
You can select the country of your choice from the list below, whatever your choice, we can deliver worldwide!
13. REAR WHEEL/BRAKE/SUSPENSION STRYKER 125/150
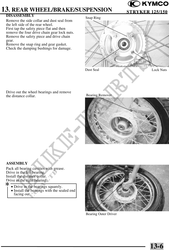
Install the drive chain gear and secure it
with the snap ring. Side Collar
Apply grease to the dust seal and install it
to the bearing.
Install the side collar.
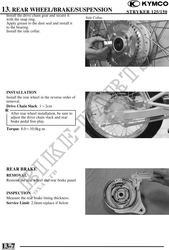
INSTALLATION
Install the rear wheel in the reverse order of
removal.
Drive Chain Slack: 12cm
After rear wheel installation, be sure to
adjust the drive chain slack and rear
brake pedal free play.
Torque: 8.010.0kg-m
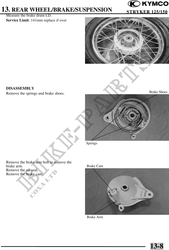
REAR BRAKE
REMOVAL
Remove the rear wheel and rear brake panel.
INSPECTION
Measure the rear brake lining thickness.
Service Limit: 2.0mm replace if below
13-7